Step 1 — Pick a status group
Bills are organized into status groups that mirror the payment cycle — Incomplete, Sent, Accepted, Processed, Denied, Rejected, and Appealing. Choose a group (e.g. Processed (Original Bill) — 3 Bills) and the header tallies its count and total balance due ($8,915.35 in this view), so you always know what's outstanding in the bucket you're working. The columns — Bill ID, Patient Name, DOS, Codes, Billing Provider, Claims Administrator, Bill Sent, Balance Due — give you the whole picture at a glance.
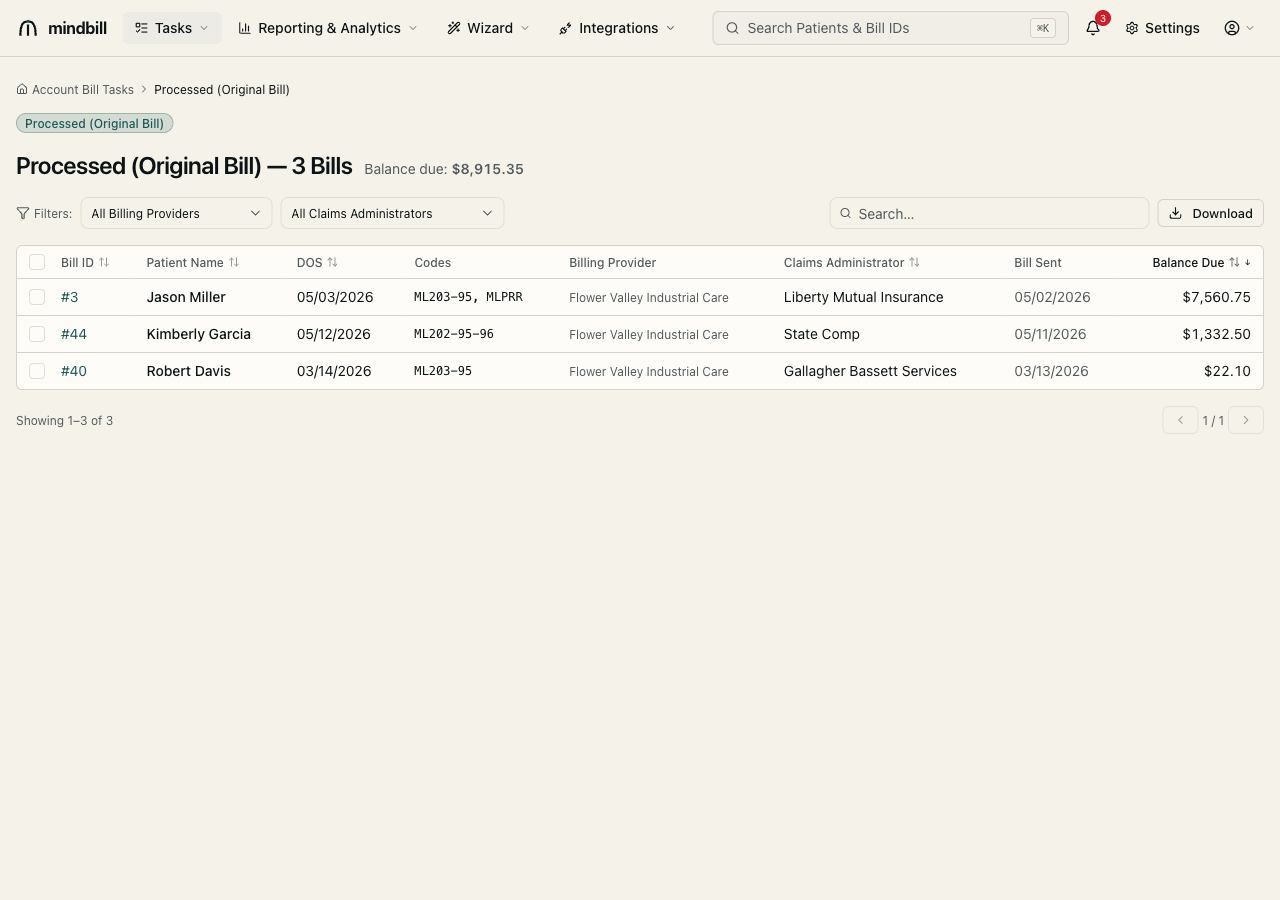
Step 2 — Filter, search, and sort
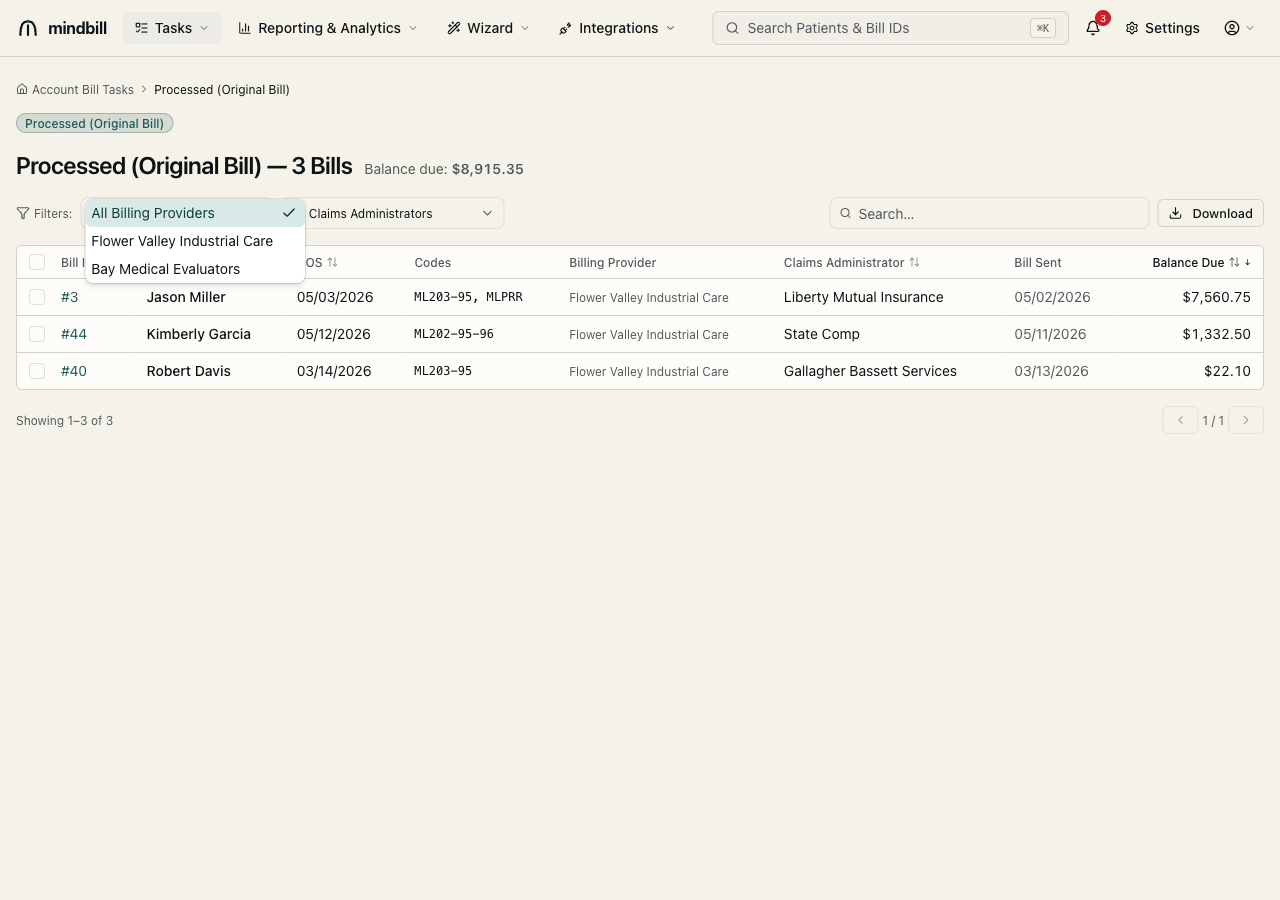
Narrow the list with the filter row: All Billing Providers and All Claims Administrators are dropdowns that scope the table to one practice entity or one payer — handy for chasing a single slow-walking claims administrator. Search by patient name or bill ID, and click any column header to sort (Balance Due descending surfaces your biggest open dollars first). Click any row to open that bill's detail page.
Step 3 — Export the filtered view to CSV
Once the list reflects exactly the bills you want — a status group, a payer filter, a sort order — click Download to export that filtered view to CSV. The export carries the visible columns (bill ID, patient, DOS, codes, provider, claims administrator, dates, and balance due) so you can reconcile in a spreadsheet, hand a worklist to a teammate, or feed an external A/R report. The export always matches what's on screen, filters included.